Before we begin
In order to complete this tutorial, you will need the following:
- Composer installed and ready to use
- Basic knowledge of the Laravel framework
- A locally-installed database server ready to use
- A SendGrid account
Why Twilio SendGrid’s Email API?
Sendgrid is very popular API to send email from our laravel application. It is very fast to send mail and also you can track sended mail. Tracking email is very important feature of Sendgrid api and you can also see how much user open your mail, click on your mail too. In this post i would like to show you how to setting of Sendgrid in our laravel 8 application. In this example you can learn to send simple mail using Sendgrid site. If you are use Sendgrid for sending email then you can save loading time and you can get mail fast.
First we will add configration on mail. i added my gmail account configration. so first open .env file and bellow code:
.env

Set up SendGrid
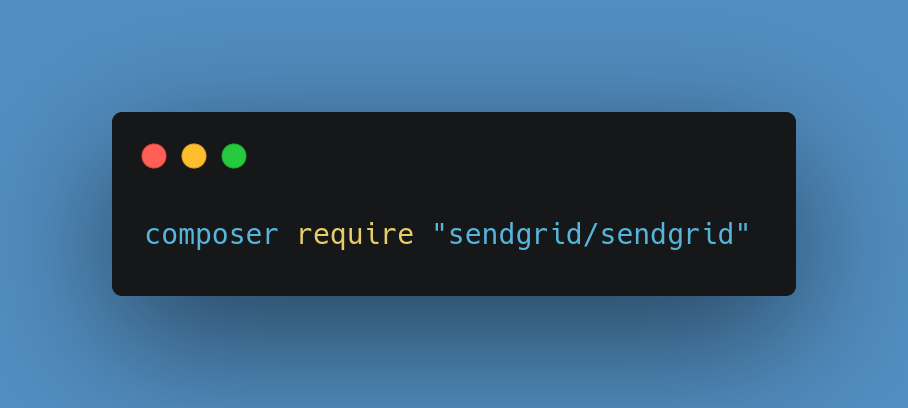
Next, we need to install the SendGrid SDK for Laravel using the command below.
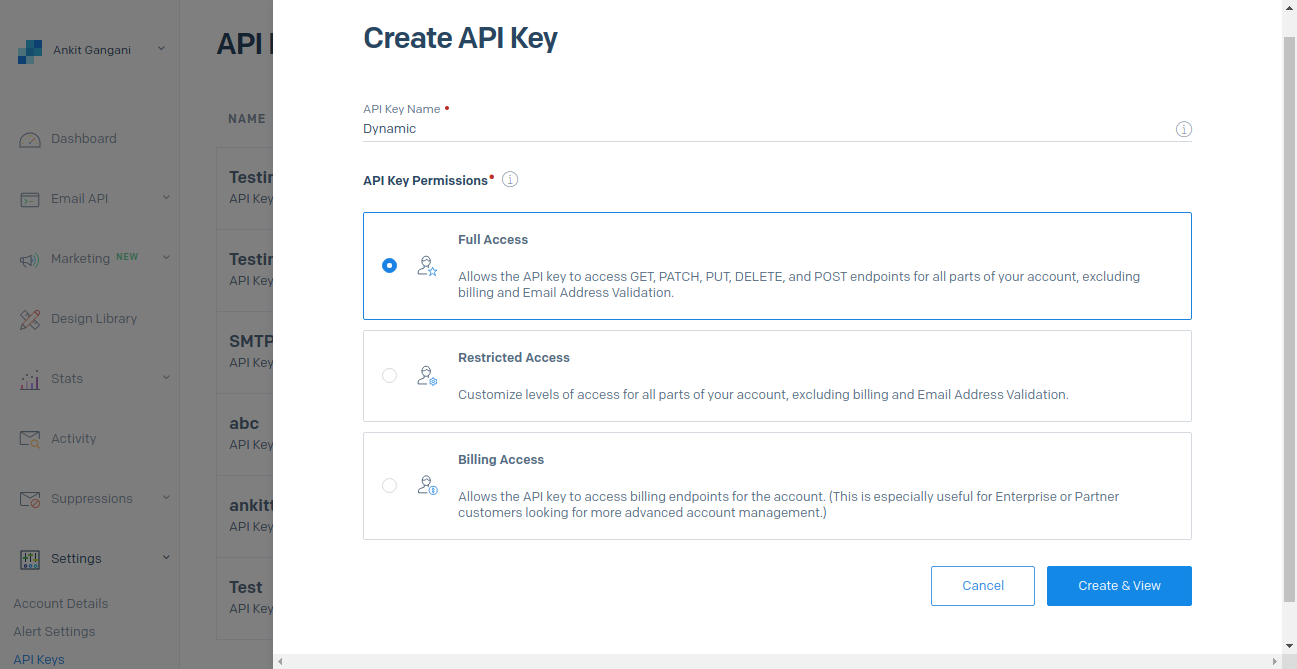
After installing the SDK, head over to the SendGrid Dashboard. Then, click “Settings -> API Keys”. On the API Keys page, click “Create API Key’‘ in” in the upper right-hand corner. Enter a name for your new API key, leave “API Key Permissions” set to “Full Access“, and click “Create & View” in the lower right-hand corner to create the key.
Create API Key
After doing so a new API key will be created. Copy your API key, which is required for the SDK to send emails.
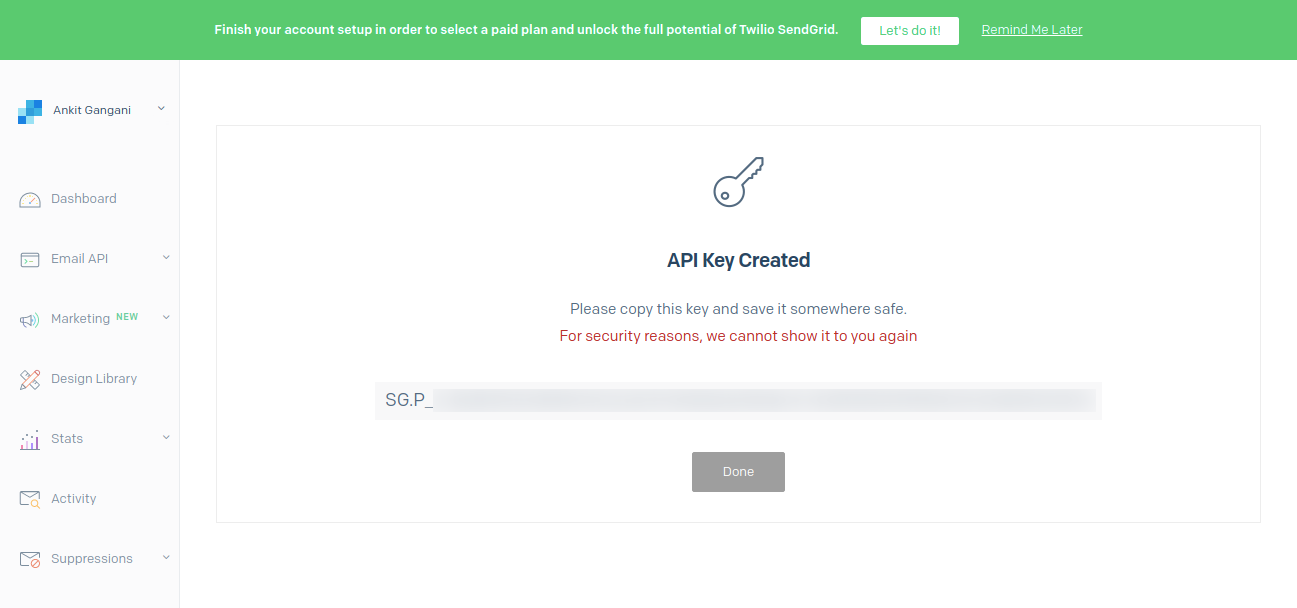
Note: make sure you’ve copied it, as once you click “Done”, for security reasons, you won’t be able to view it again.
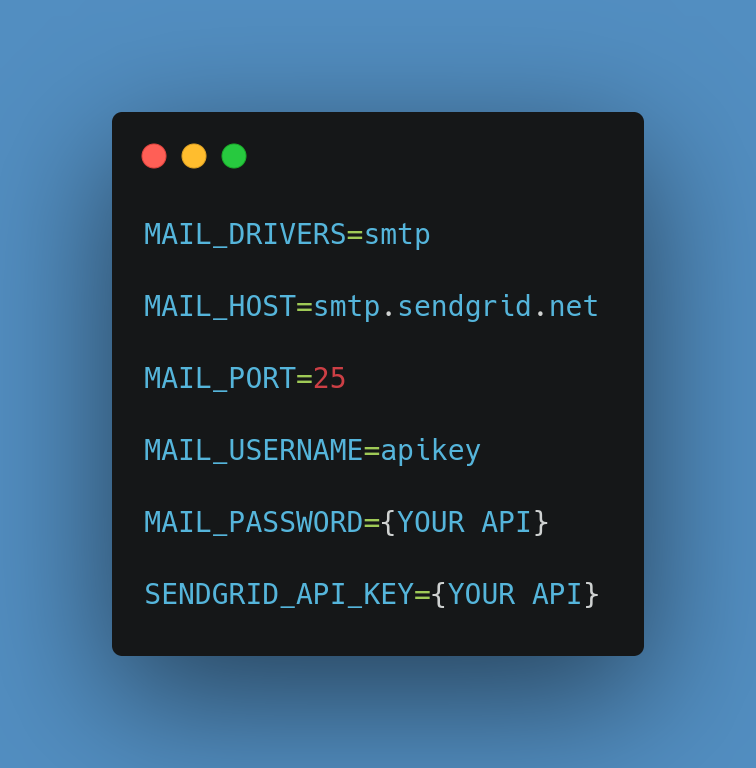
Then, in .env add the configuration below, replacing {YOUR API KEY} with the SendGrid API key which you just copied.
Create Dynamic Templates
In order to use the email from API and populating dynamic values, you should understand the handlebars and how they can be used.
To create a dynamic template follow the below steps
https://mc.sendgrid.com/dynamic-templates
- Create a dynamic template
- Note the template ID d-6f21228d64f74495ae34d91b5a6a176d
- Add version
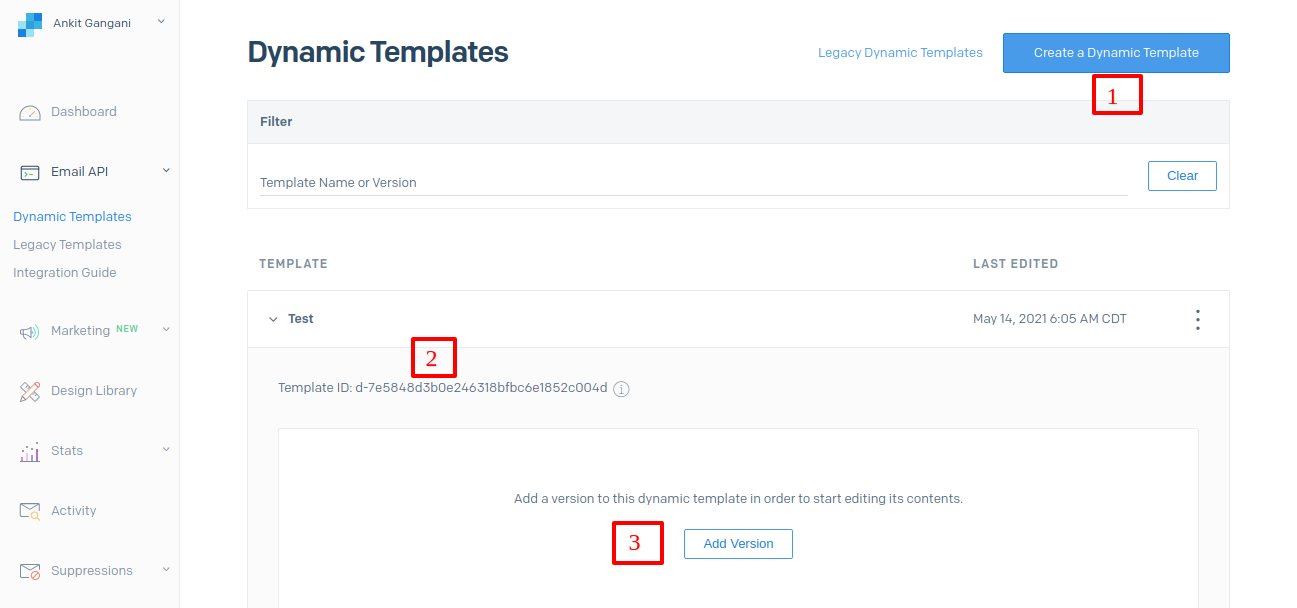
Select the design using a blank template or from an existing SendGrid Email Design

In order to populate dynamic values, you could use the handlebars as mentioned here
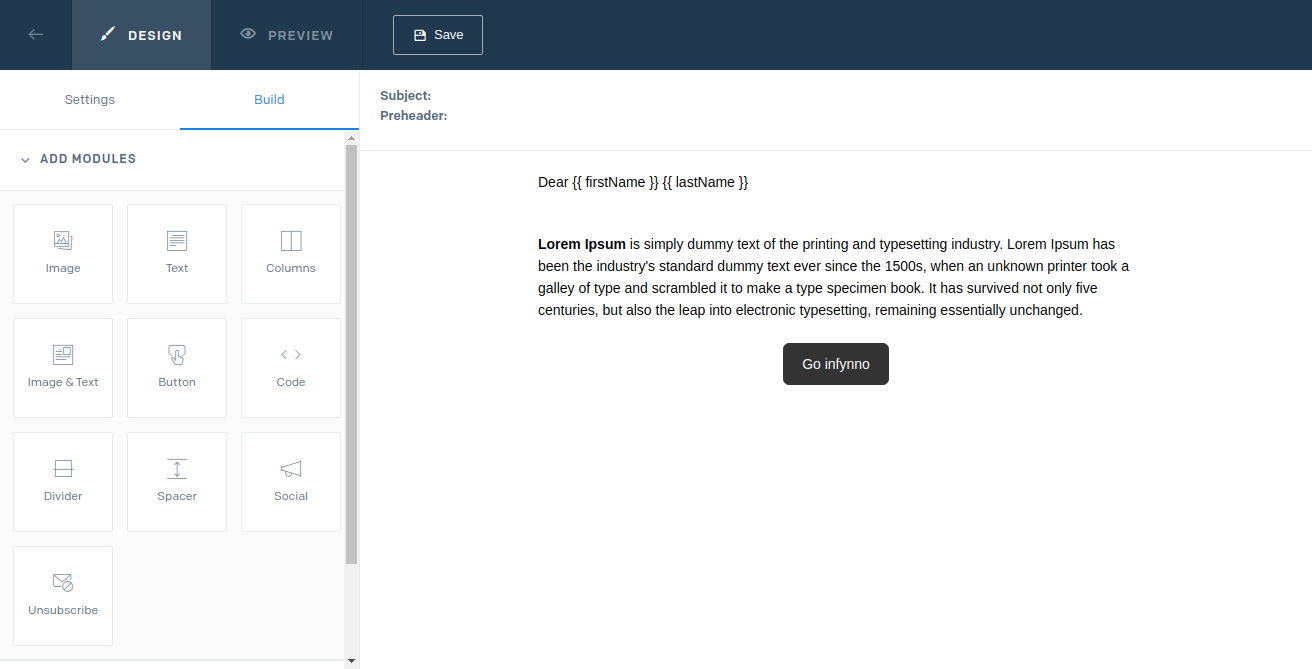
Creating Template
Below is a template content created;
Note: if you want to send HTML code then use 3 braces else two should be fine. For Example, in the below case, I want to send the image in the Message field hence included 3 braces.
From the builder, you need to select the text block or code block as per the information you want to see in the email and logically group them
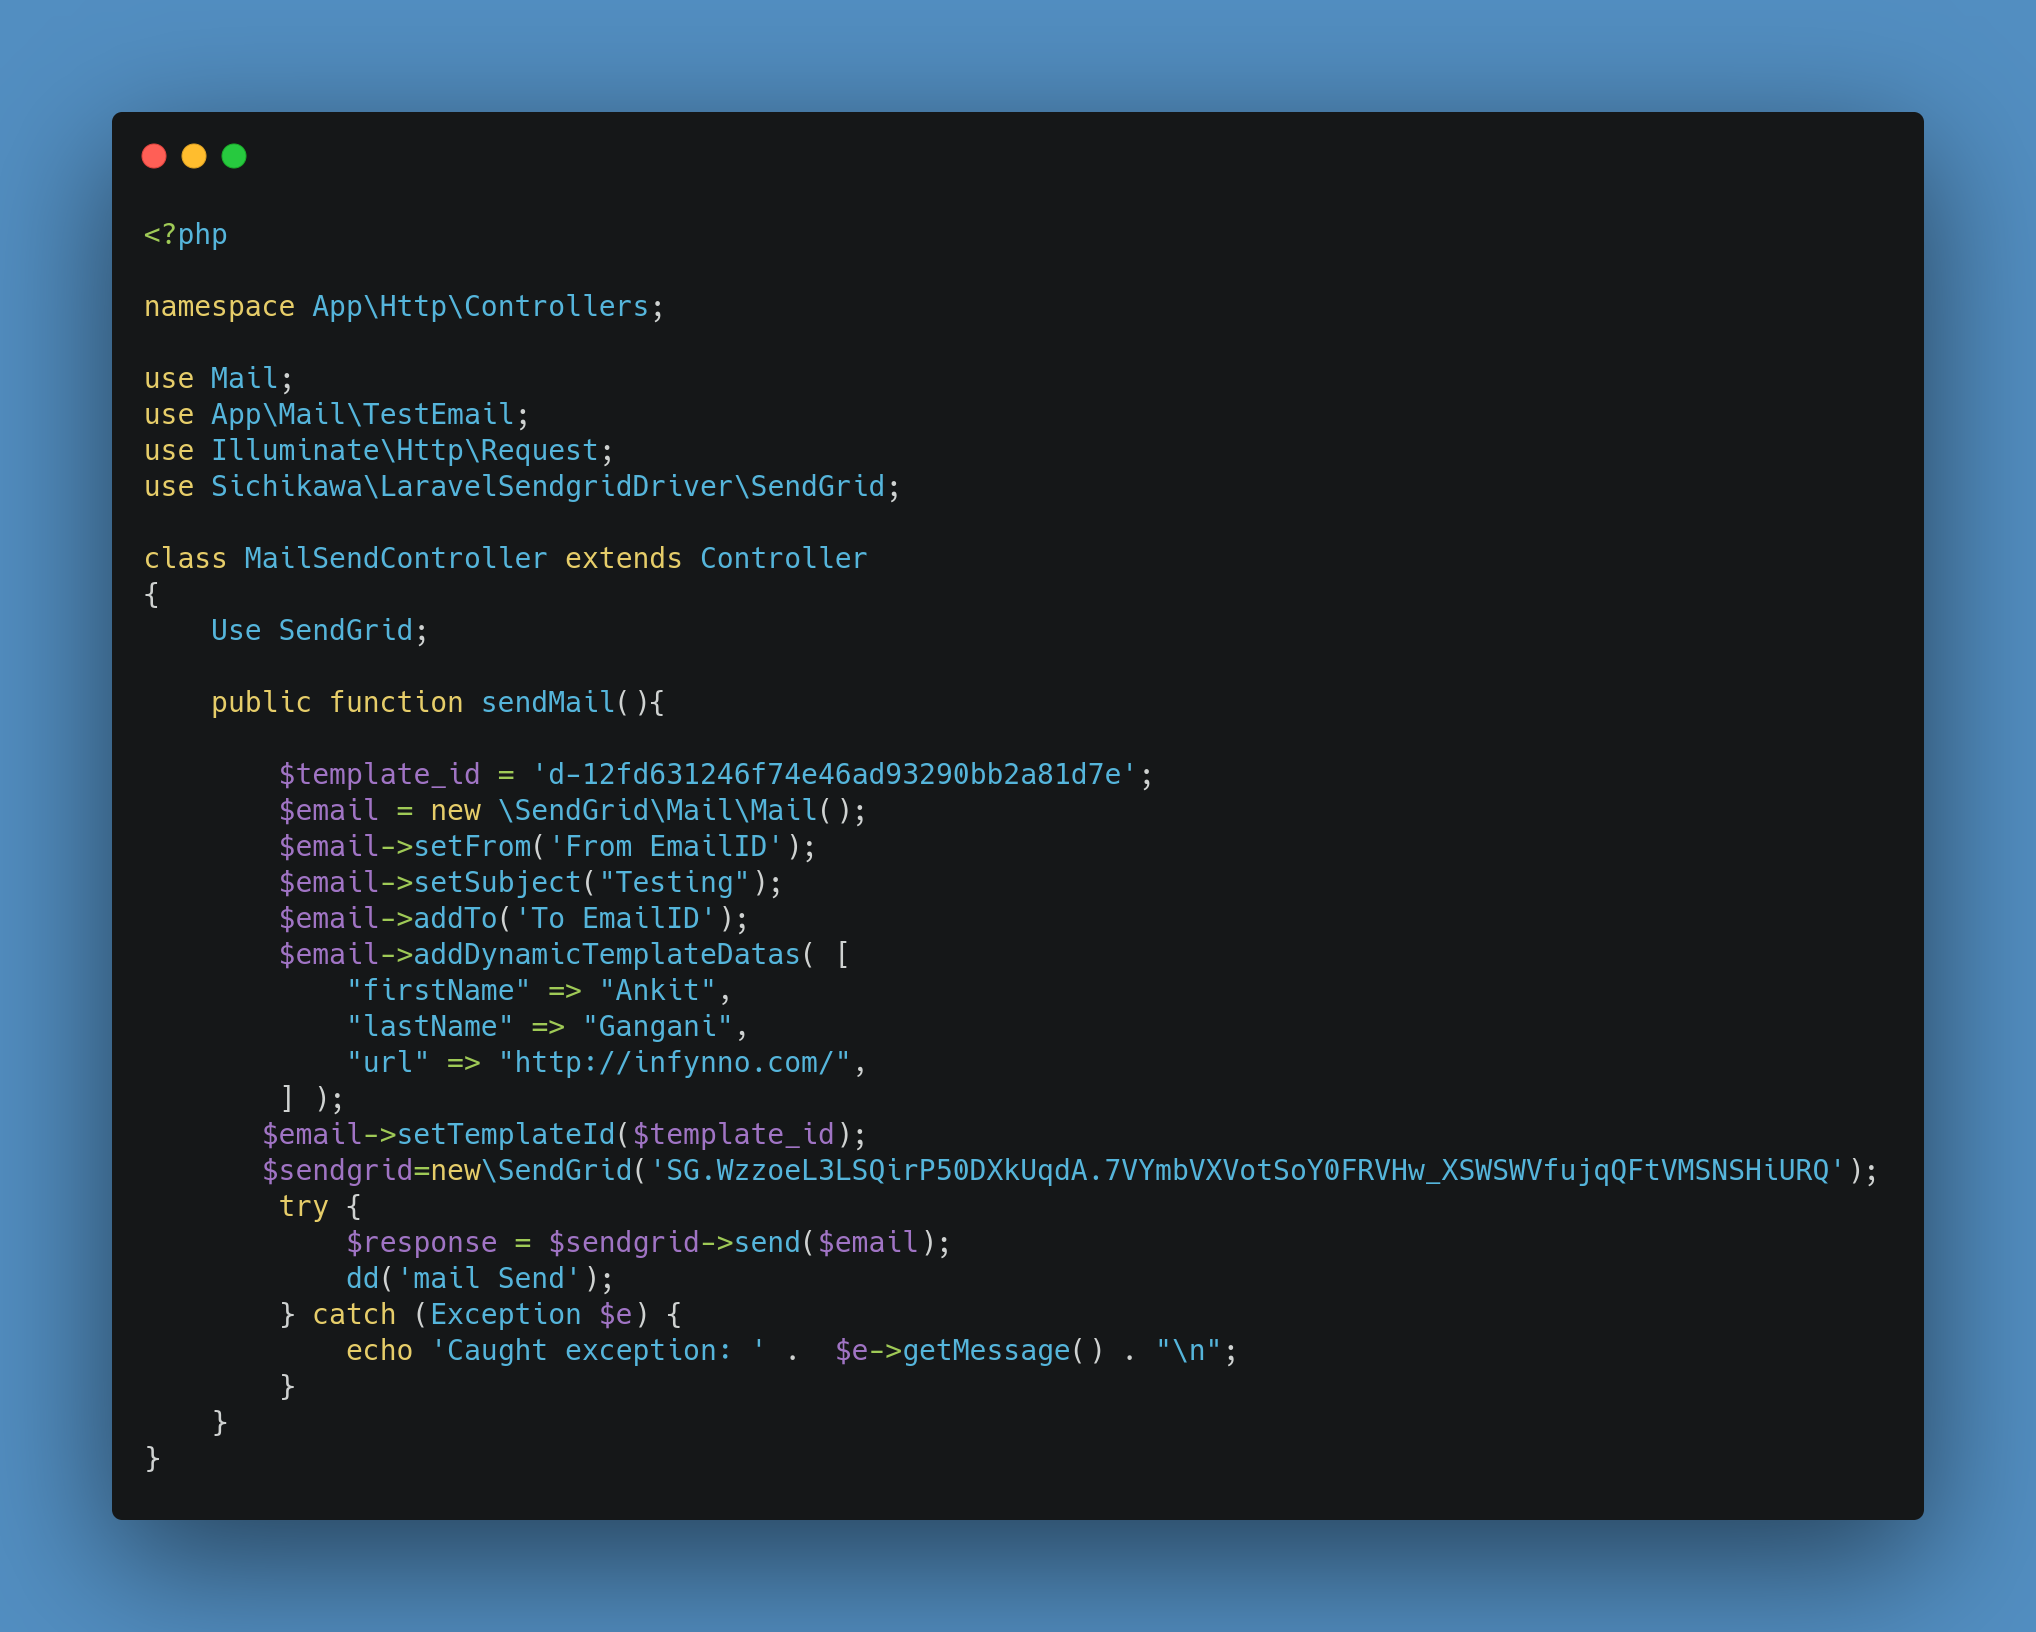
Now, We can pass data in SendGrid Template
Are you looking for PHP Laravel Developers? Hire from us: https://infynno.com/hire-developer/

